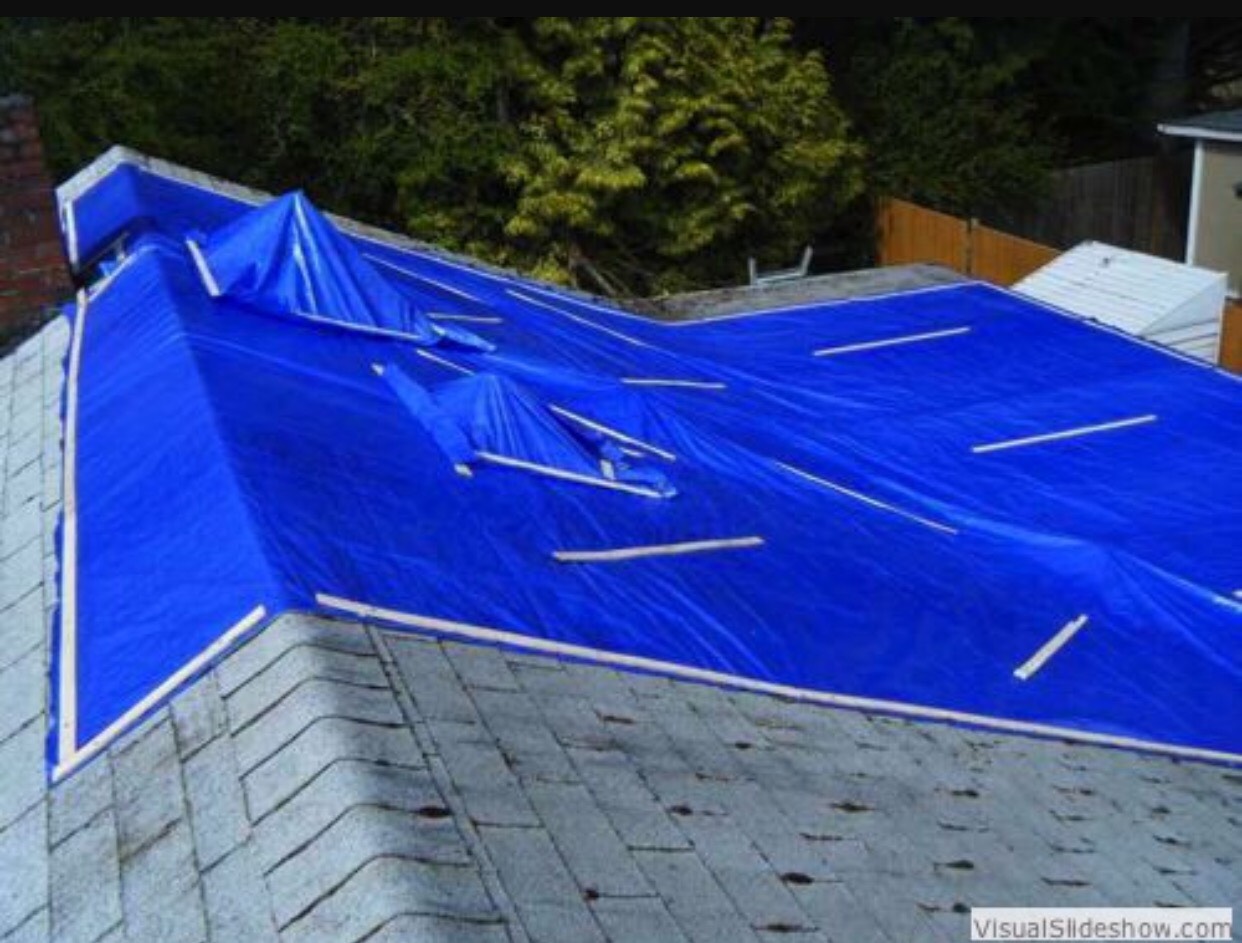
My Roof Is Leaking What Should I Do?
So a downpour confirms your local forecast and suddenly you see water streaming from your ceiling?
Perhaps not, so how do you know your roof is leaking? Maybe you get:
A.whiffs of dampness, or
B.see yellowing brown water stains on ceiling, or
C. cracked or peeling paint or wall paper, especially inside clauset, kitchen or bathroom,
D. or if you climb on top of your roof do you see puckering singles around roof pipes?
All these tell tell signs of a leaking roof need your utmost attention…did I mention whiffs of mold?
You really have two options: if the leak is really obviously urgently bad, you can possibly go ahead and try patching your roof leak yourself, covered in my last paragraph where I explain how to fix a leaking roof from the inside(emergency situation only) but first go with your first option: call a professional roofer!
what to do if roof is leaking call roofing contractor!
A roofing contractor will assess symptoms and locate your problem. A leaking spot in your roof may easily travel down roof rafters and roof decking to cause a leak symptom in a seemingly unrelated area. Roofing contractor knows what to look for, and will give you an estimate based on how to fix your leak. An estimate may range from $300 to few thousand dollars, which your home owner hazard insurance should cover. The following problems most commonly cause leaking roof, in ascending order from least expensive leak repair cost:
A. Improperly driven nail which may stick out through your shingle, allowing water to travel from nail head into interior of your home.
repair: roofing contrator breaks the seal on the shingle, to lift up the shingle to pull out and reposition little culprit nail. Roofer then seals the nail and shingle.
B. Roof boot failed. What is a roof boot? Specialized flashing that covers the base of ventilation pipes sticking from your roof. If it fails, a gap between roof and pipe allows water to seep inside your home. Ask what kind of replacement boot your roofer intends to use. Opt for plastic, copper,etc., except for synthetic rubber which deteriorates much faster than other roof boot materials.
repair: a collar over the base of pipe or a roof vent boot guard
C. Flashing under gutter missing or installed wrong will cause a leak if ever the gutter gets stopped with leaf debris. The resulting pool of water rises over gutter edges and wraps around the underside of gutter straight into your home.
repair:pop off the gutter and install flashing behind the gutter, onto the roof, and tucked under roof valley aka where two slopes of roof meet.
D. Collar fails around gas vent pipe during strong downpours if unsealed.
repair: lift up the collar apply dark color caulk and bring collar back down. Sounds simple, but this job entails extra caution due to pipe’s function of removing toxic carbon monoxide from gas appliances.
E. Chimney wear and tear happens from problems with flashing, siding, or mortar
surrounding the base of chimney.
repair: either reflash chimney, apply masonry sealant to mortar, or hire a professional exterior finishing contractor or carpenter and maybe a chimney sweep. When you find yourself having to deal with a few kinds of contractors or simply want a second opinion, get a quote from a GC or a general contractor to save you time and money in finding good team to get work done. How is that and why should you hire a general contractor? GCs have a stake in finding and retaining the most professional reliable contractors, as any mistake and redo comes out of GC’s pocket.
F. Skylight leak typically happens due to installer error. Each skylight manufacturer offers instructions and these days people dont read, unlike you! For that reason it pays to get one like VELUX skylight which offers a 1o year warranty.
repair: remove aluminum cladding and flashing, apply ice and water shield sealant and then replace the flashing and cladding.
G. whole roof needs replacement, just kidding.. unless its an old roof which needs replacement.
how to fix a leaking roof from the inside myself?
While you would likely have to be an experienced roofer to fix a leak permanently, you may find yourself stuck in a situation where a temporary patch necessitates itself.
Again, disclaimer, please note I don’t condone fixing a roof leak yourself, especially on the outside, except if it’s urgent and you don’t have a better option for some reason. A heavy rainfall can quickly reek havoc on your home through a seemingly minor entry point. Soaked insulation and sheet rock would create a health hazard and a lot more repair. Whatever you do, do not get up on top of your roof in the rain, slippery conditions or lightning. Under those circumstances, emergency repair happens on the inside.
A. Get up in the attic and remove any soaked insulation in ceiling. Lay a couple 2 by 4 across roof rafters to move across, as everything besides rafters is sheetrock which can support no weight, wet or dry. Set a piece of plywood with an empty bucket and use sponges to soak up water.
B. Find Leak Source by following the wet trail up the rafters and decking.
C. Make A Temporary Leak Patch with piece of plywood or shingle and some roofing tar. To fix the leaking roof from the inside spread the tar with putty knife. Press the shingle or plywood into the tar and spread tar thickly all around patch edges.
D. Mark the location of Roof Leak by using a tape measure and make a written note. Once it hasnt rained for at least 24 hours rain, climb on top of your roof and try to locate the same spot. Add more tar here to fortify your temporary patch and congratulations!
How to fix a leaking roof from the outside if I cant find the leak though?
Well, in that case, you are in for a bigger challenge, because that means you will have to cover the entire roof with painter’s plastic or a tarp from hardware store. Actually many little tweaks exist Im sure to get this done but the overall concept is the same. Get a few 8 ft 2×4’s and a utility staple gun while there.

A. Cut The Plastic To Length
Unroll the plastic with a little more length to run from the roof top or ridge to the eave or edge of your roof. Don’t unfold it yet and cut it to length with a utility knife. Use a 2×4’s as a guide to make a straight cut. Once it is cut to length, unfold it to make an 8 ft wide section, long enough for your roof.
B. Attach The Cover To 2x4s
Roll one of the ends around an 8 foot 2×4 and attach it to the wood with utility staple gun. Press the rolled up 2×4 against another 2×4 to sandwich the plastic sheet and nail the 2×4’s together with staple gun. That’s for the length of the ridge and now repeat the process for the length of the eave.
C. Place The Cover On The Roof
Wear a good pair of rubber shoes and grab a neighbor and /or a handy relative or two to help you hoist the 2x4s onto the roof. Be careful, don’t do this in slippery conditions and/or lightning, or if you don’t have the right equipment or physical ability. Just call for emergency roof repair. Stand at least 6-8 ft from roof edge and carefully drop the 2x4s eave end off the edge, then carefully unroll the rest of the plastic up to the ridge to hang slightly to the other side of the ridge, just so the plastic doesn’t slide off one side. Do the same for the other side of the roof so that the two pieces overlap slightly to both sides of the ridge.